🔒 Biological Cells, Magical Cells 〜 Process
So I thought I would do one of these process ...things. This is about how I do my cel-shading/flat-shading art. I can't really give much detail to it, since I don't really think I do anything of particular note — it depends on the character or species.
The only other advice I can give is bloody photo reference. I learnt this the hard way, things are vastly easier if you follow photographic reference because you then spend a lot less time fussing over things uncertain if it looks right. Of course the irony of this is that I continue to forget about checking references and I still think I messed up parts of this artwork.
For most of my art I use Paint Tool SAI for the whole process, save an outline to the exported image at the end. Exceptions to this include dual brushes in Photoshop — much easier for trees, and a colour filter I've not been using for a while now.
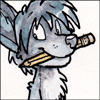
I start off with a small A4 sized canvas. By starting off as 72dpi, I find it much easier to sketch out things than I would at higher resolutions. Again, I don't really have anything specific to note about this process, I just... try to get something reasonable out. Having a reference around at this stage is rather required.
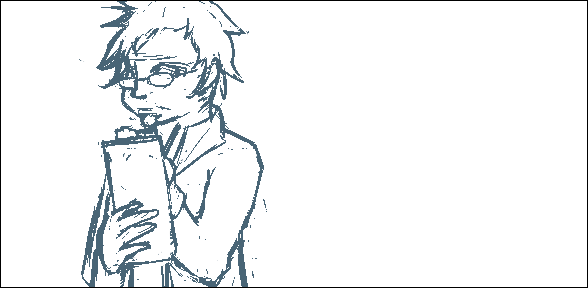
Depending on the picture, I can end up going through several layers of sketches, sketching a picture, making new layer, cleaning up the sketch, until I get something clean enough to follow when I resize the picture to 200dpi. As can be seen well from the previous step, I can end up cutting away at my sketches to clean up the build up of lines from trying to get something accurate.
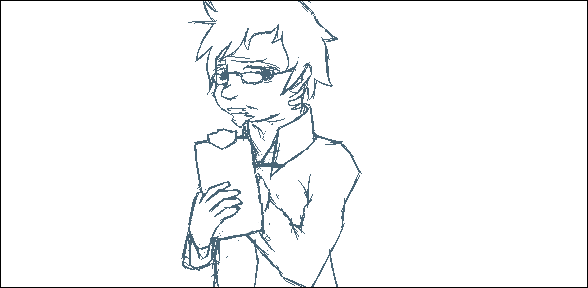
In this picture I tried turning off pressure-based size changing for my linework. At the size I'm working at, it'd be less obvious, and I would avoid an issue with getting thin lines that colour leaks through when I get to colour fills. I'm probably going to experiment with this more, since one of the biggest things I want an art program to have is pressure sensitivity. So what am I doing not using it?

Depending on the complexity of the character, I'll either duplicate the lineart and add a layer mask to contain them, or I'll just make a new layer and layer mask it. I can then use bucket fills to apply colour within the lines, and draw in anything else (sometimes on separate layers to preserve the base colour) if it lacks lines or I've not copied the layer.
I'm not that consistent about this it seems.
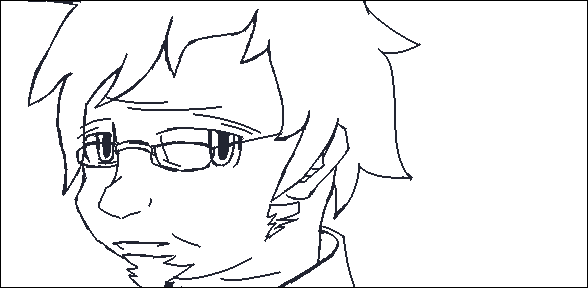
I use a pale blue-black for lines and black, and a pale grey for whites, as part of the desaturated pallets I'm fond of. I suppose it might be limiting to work within a particular rule for colours, but I don't limit myself to a particular palette outside these two. It's more an attempt in establishing a style I am fond of.

My shadows and highlights in this image were a shade and luminosity layer respectively. I don't dare use a pure black and white, ew. I use a vivid colour to give the lighting some... well, colour. In art of myself in the past, I actually used a swatch of my body colours for the shadows and highlights. Here I used a variation on the shirt blue, slightly different between the layers. The shadows are 70% visible, while the highlights are 20%.
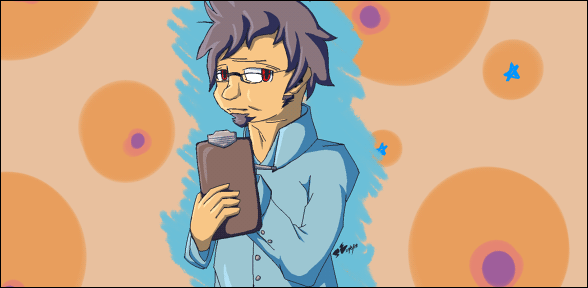
If I'm feeling less lazy, I might plonk in a background, and you get a picture.